Like a symphony of rushing water, Yellowstone's waterfalls beckon photographers to capture their raw power and ethereal beauty. You'll uncover that photographing these natural wonders requires more than just pointing and shooting—it's an art form that demands careful timing, proper equipment, and insider knowledge of the park's secret treasures. From the thunderous Lower Falls to the lesser-known Crystal Falls, each cascade presents unique challenges and opportunities for creating memorable images. Whether you're a seasoned professional or an enthusiastic beginner, understanding the nuances of waterfall photography in America's first national park will transform your approach to capturing these magnificent displays of nature.
Key Takeaways
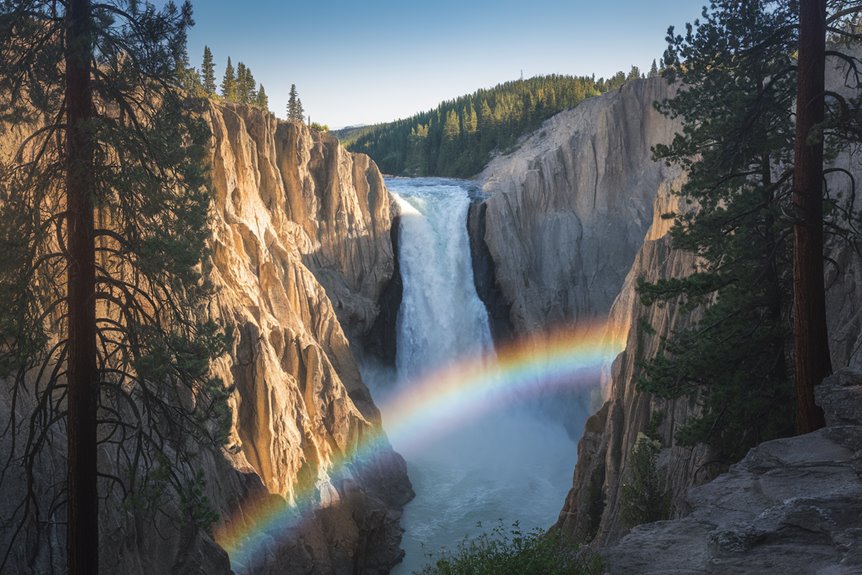
- Lower Falls of Yellowstone offers prime photography at Artist Point, with optimal rainbow effects around 9:30 AM during morning light.
- Use shutter speeds between 0.5-2 seconds with a sturdy tripod, low ISO, and high f-stops for silky waterfall effects.
- Pack weather-sealed camera gear, polarizing filters, and neutral density filters to control glare and exposure in varying conditions.
- Visit Gibbon Falls for easily accessible roadside shots, or hike to Fairy Falls for secluded 197-foot waterfall photography.
- Shoot during overcast conditions or early morning for optimal lighting, avoiding harsh midday sun for better waterfall compositions.
Best Times to Visit
Timing your visit to Yellowstone National Park's waterfalls can make or break your photography expedition.
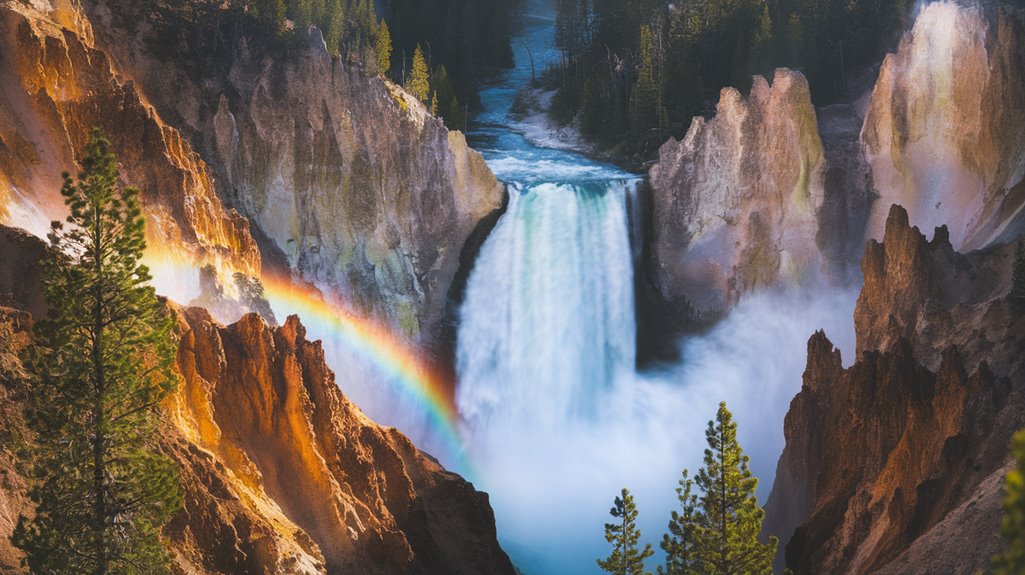
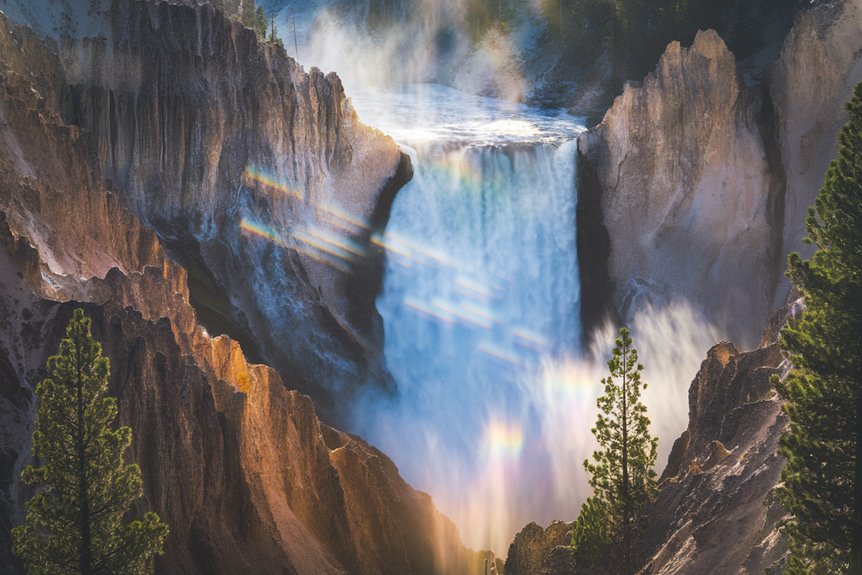
You'll find the early morning hours provide the most brilliant light, particularly when the sun clears the canyon rim. If you're hoping to capture rainbow effects at Lower Falls, plan to arrive around 9:30 AM when the sun hits at the perfect angle.
For ideal results, you'll want to start early, as morning light provides soft, saturated colors that make waterfall photography spectacular.
Later in the day, you can take advantage of the late afternoon's dramatic downstream views and the golden hour's warm glow.
While summer presents peak accessibility, consider visiting in spring or fall when you'll encounter fewer crowds and unique seasonal elements like wildflowers or autumn colors to enhance your waterfall compositions.
Essential Camera Equipment
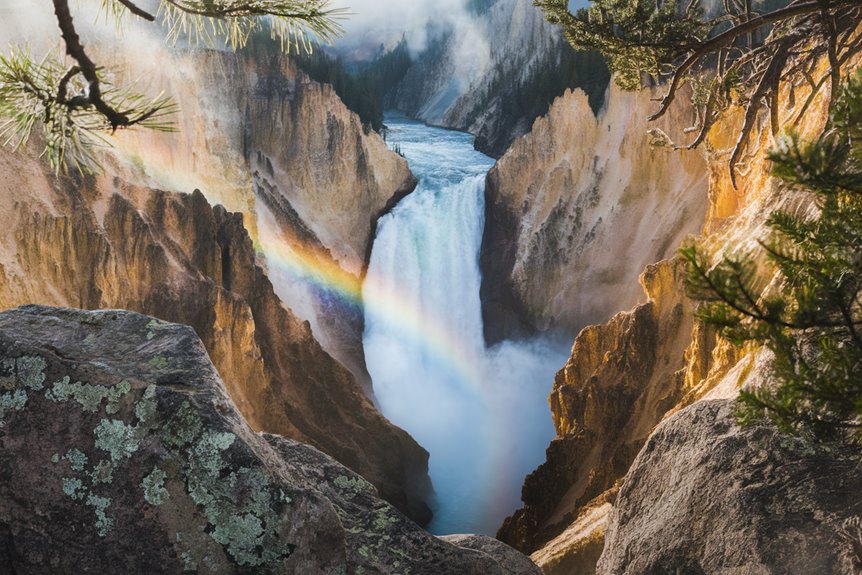
Packing the right camera gear can make all the difference when photographing Yellowstone's majestic waterfalls.
You'll need a weather-sealed camera body that can withstand variable conditions, with either DSLR or mirrorless options being suitable. Pack extra batteries, as cold temperatures can quickly drain them.
For lenses, you'll want a wide-angle (14-35mm) for capturing expansive waterfall scenes, a versatile standard zoom (24-70mm), and a telephoto lens for distant shots.
Don't forget essential support gear: a sturdy tripod with adjustable legs and a reliable ball head for precise adjustments. A monopod can provide additional stability for telephoto shots while maintaining mobility.
Your filter kit should include circular polarizers to reduce glare and neutral density filters for creating smooth water effects.
Always carry lens cleaning supplies and extra memory cards.
Prime Waterfall Locations
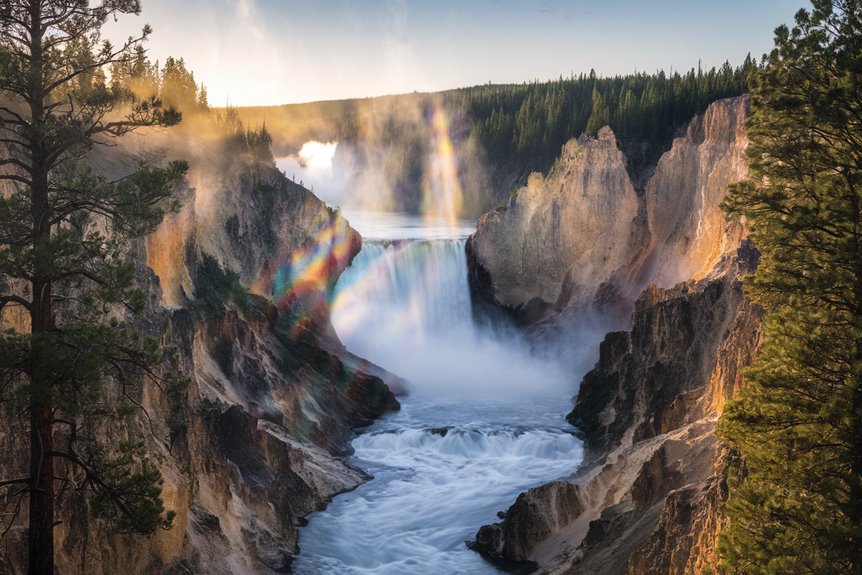
Yellowstone National Park's most spectacular waterfalls cluster around the Grand Canyon of the Yellowstone, where the iconic Lower Falls plunges 308 feet into the golden-hued canyon.
You'll find excellent vantage points at Artist Point and Red Rock Point, while the Upper Falls presents a dramatic 109-foot cascade upstream.
Don't miss Crystal Falls, a hidden 129-foot gem visible from the South Rim Trail.
For easier-to-reach waterfalls along scenic drives, consider these top locations:
- Gibbon Falls: An 84-foot cascade with convenient roadside viewing
- Tower Fall: A 132-foot plunge with a short walk to the overlook
- Firehole Falls: A 40-foot drop in scenic Firehole Canyon
- Fairy Falls: A 197-foot giant worth the 5.4-mile round trip hike
- Lewis Falls: A 30-foot cascade near the southern entrance
Advanced Photography Techniques
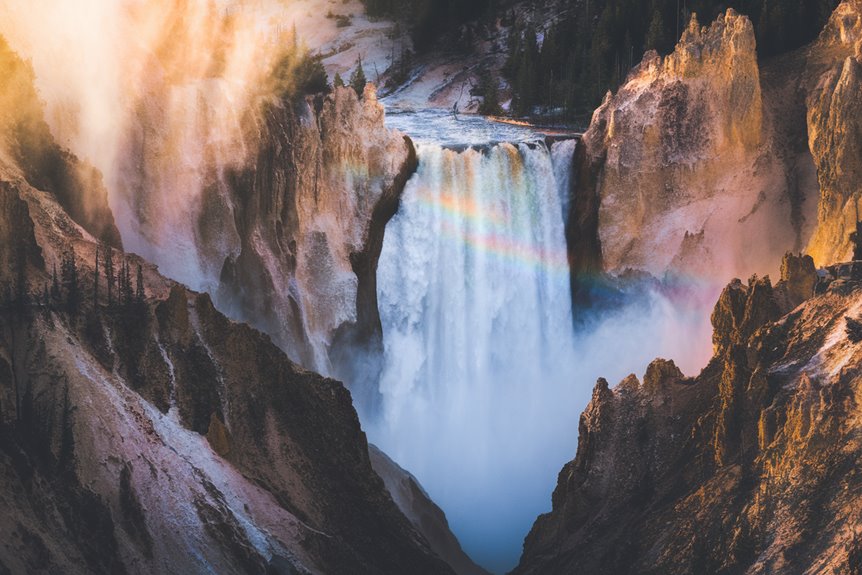
Now that you've identified the perfect waterfall locations, mastering advanced photography techniques will help you capture their raw power and beauty.
Start by mounting your camera on a sturdy tripod and attaching essential filters – a neutral density filter to control light and a circular polarizer to reduce glare. Set your camera to Shutter Priority mode with speeds between 0.5 to 2 seconds for that silky water effect.
Keep your ISO low at 100 and use high f-stop numbers (f/16 to f/22) for maximum depth of field. You'll want to use manual focus for precision, especially with filters attached.
Consider bracketing your exposures to capture both highlight and shadow details. For composition, use the cascading water as leading lines and don't hesitate to try vertical shots for tall falls.
Remember to use a remote shutter release to prevent camera shake during long exposures.
Weather and Lighting Considerations
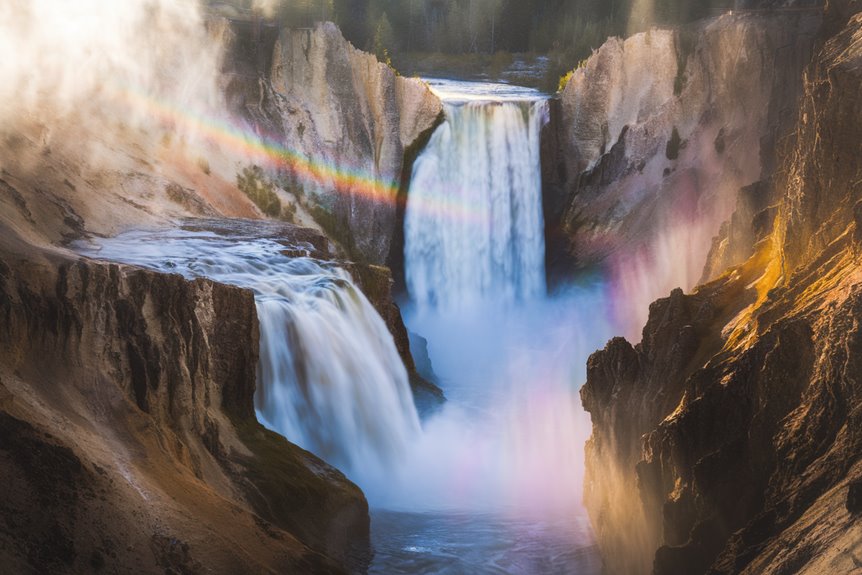
For successful waterfall photography, timing your shoot with perfect weather and lighting conditions makes all the difference.
You'll find overcast skies provide the best environment, presenting soft, even light that prevents harsh contrasts. Early morning and late afternoon during golden hour are prime times to capture waterfalls, while you should avoid shooting during harsh midday sun.
- Use polarizing filters to reduce glare and enhance colors
- Arrive early to capture potential rainbow effects, especially around 9:30 AM
- Check weather forecasts to plan for ideal cloud cover
- Look for misty conditions that add depth and atmosphere
- Time your visits during sunrise or sunset for warm, golden lighting
Consider positioning yourself at strategic viewpoints like Artists Point, and don't forget your tripod for those essential long-exposure shots in low-light conditions.
Safety in the Field
While capturing stunning waterfall shots requires attention to lighting and timing, prioritizing safety guarantees you'll return home with both amazing photos and your well-being intact.
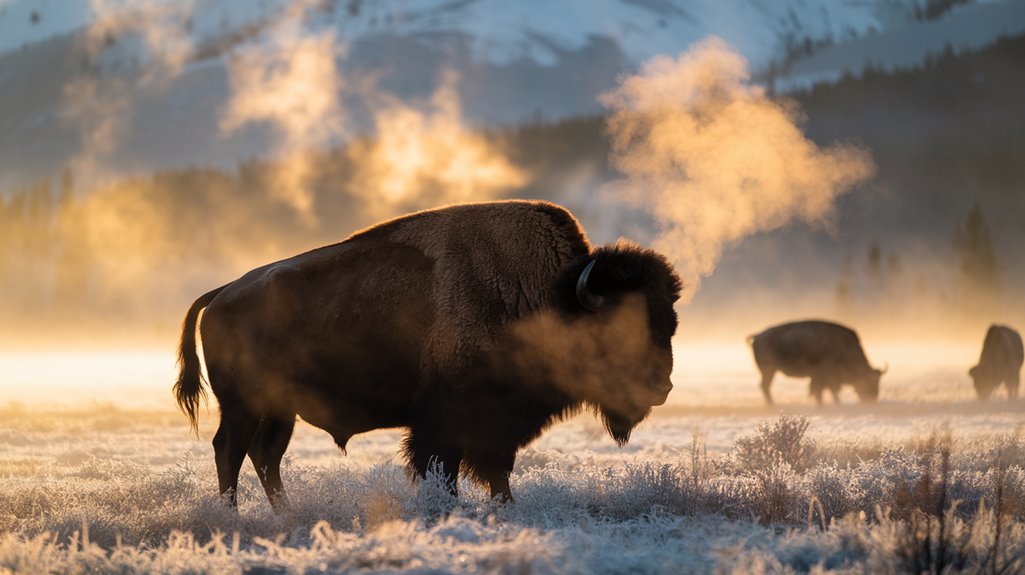
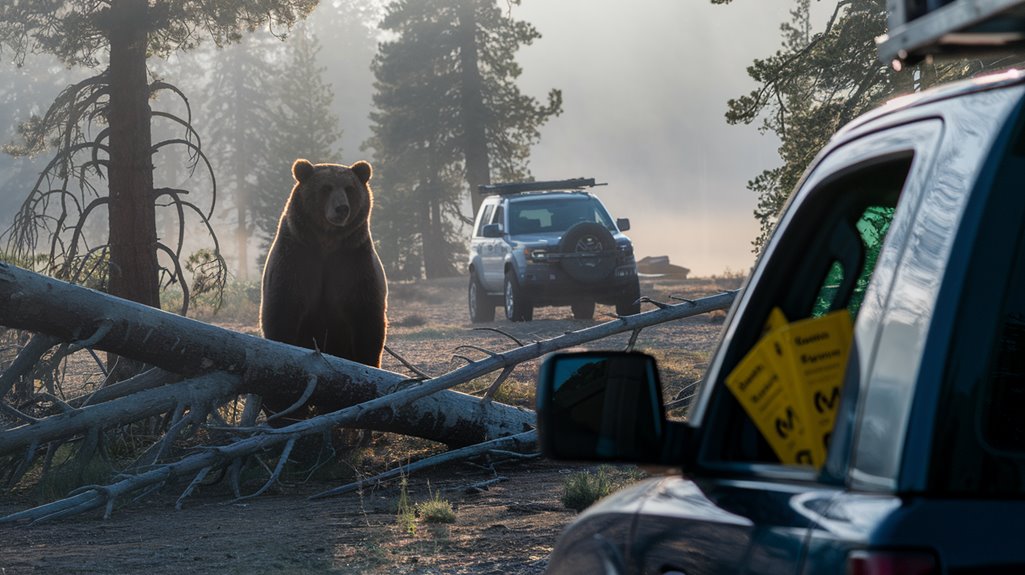
Always stay on designated trails and boardwalks when photographing waterfalls, as venturing off-path can lead to dangerous falls or environmental damage. Keep your distance from any wildlife you encounter – maintain 100 yards from bears and wolves, and 25 yards from other animals. Use your zoom lens instead of getting closer.
Carry bear spray and know how to use it before heading out. When setting up your tripod, make sure you're on stable ground and not blocking other visitors' paths.
Don't rush to get the perfect shot – use pullouts for parking, and avoid making sudden stops on park roads that could endanger other visitors.
Frequently Asked Questions
How Do You Protect Camera Gear From Waterfall Mist and Spray?
Like a raincoat shields you from storms, protect your gear with a lens hood, maintain safe distance from spray, use waterproof covers, and don't shoot downwind. You'll want to regularly clean your equipment too.
What Clothing Is Recommended for Comfortable Waterfall Photography Sessions?
You'll want to wear waterproof layers, including a rain jacket and quick-drying pants. Don't forget moisture-wicking base layers, sturdy hiking boots, and gloves for grip. Pack extra socks to stay comfortable while shooting.
Are Permits Required for Professional Photography at Yellowstone's Waterfalls?
With a $250 application fee, you'll need a permit if you're doing commercial photography with models, props, or special equipment at waterfalls. However, you won't need one for personal landscape photography at Yellowstone.
Can Drones Be Used to Photograph Yellowstone Waterfalls?
You can't use drones to photograph waterfalls in Yellowstone National Park. The NPS strictly prohibits launching, landing, or operating drones from park grounds. You'll need to stick to ground-based photography methods.
Where Are the Best Spots to Photograph Lesser-Known, Less Crowded Waterfalls?
You'll find great shots at Undine Falls from the highway pullout, Crystal Falls along South Rim Trail, and Gibbon Falls' roadside viewpoint. These spots typically draw fewer crowds than the major waterfalls.
