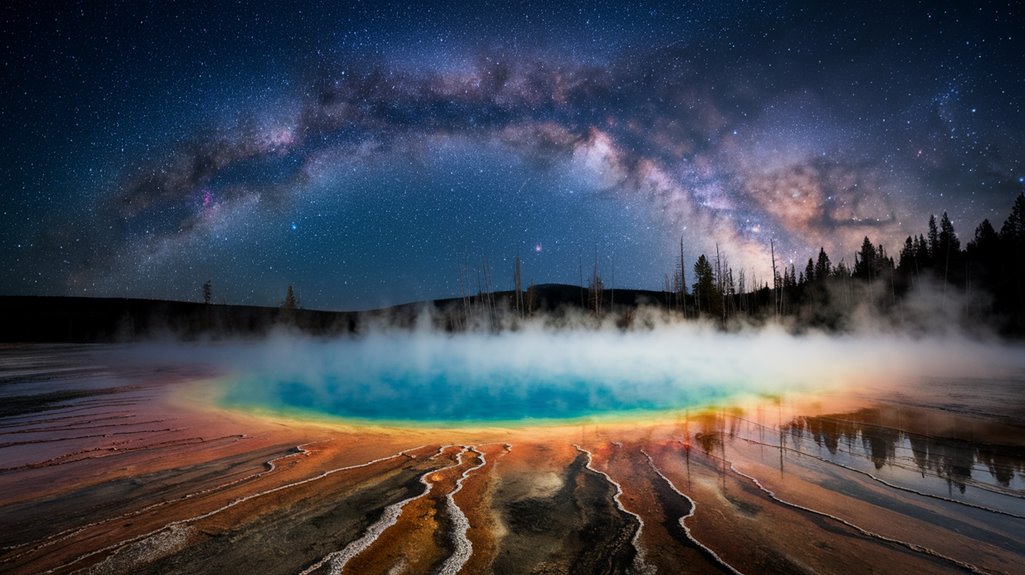
Like diamonds scattered across black velvet, Yellowstone's night sky beckons photographers to capture its celestial splendor. You'll find that photographing the park after dark isn't just about pointing your camera upward—it's about combining the ethereal glow of the Milky Way with the park's dramatic landscapes and geothermal features. Whether you're stationed near Old Faithful's predictable eruptions or seeking solitude at Dunraven Pass, you'll need more than just technical knowledge to create compelling nighttime images. The park's unique challenges and opportunities after sunset will transform your approach to astrophotography, but first, you'll need to know where and when to begin.
Key Takeaways
- Dunraven Pass offers premier stargazing opportunities at 8,859 feet elevation with unobstructed views of the night sky.
- Best night photography occurs between June and September when the Milky Way core is most visible above Yellowstone.
- Use a sturdy tripod and wide-angle lens (14-35mm) while shooting in RAW format with manual focus settings.
- Combine natural features like geysers and hot springs with celestial elements for unique compositions in thermal areas.
- Stay safe by traveling in groups, carrying bear spray, and maintaining proper distance from wildlife during night shoots.
Best Spots for Stellar Views
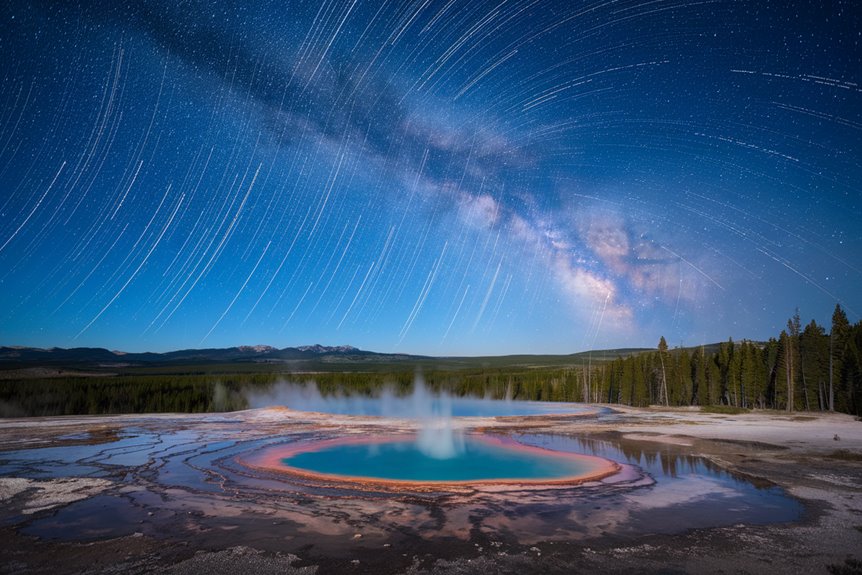
Towering above the park at 8,859 feet, Dunraven Pass stands as Yellowstone's premier stargazing destination, providing photographers unmatched views of the celestial sphere.
You'll find a convenient parking area at the trailhead along Grand Loop Road, but remember to pack extra layers as temperatures drop considerably at this elevation.
Upper Geyser Basin presents stellar views without extensive hiking, with Old Faithful and Castle Geyser creating unique foreground elements.
For easier access, head to Mammoth Hot Springs near the north entrance, where illuminated travertine terraces provide stunning compositional possibilities.
If you're seeking solitude, drive the 3-mile Firehole Lake Drive, which provides expansive sky views away from crowds.
At all locations, you'll get your best shots during clear nights and new moon phases, when the Milky Way shines brightest.
Essential Camera Equipment and Settings
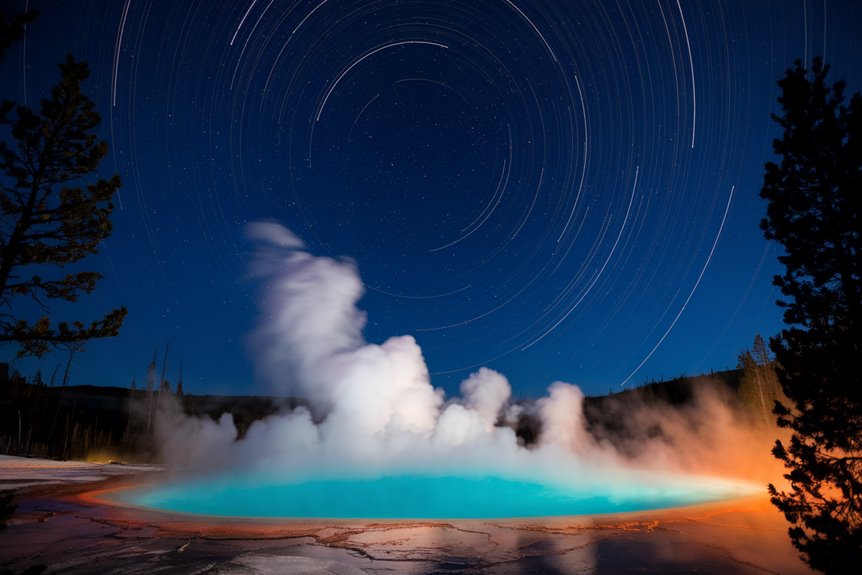
Successful night sky photography in Yellowstone requires several essential pieces of equipment and precise camera settings.
You'll need a durable, weather-sealed camera body that can handle the park's variable conditions, along with a sturdy tripod for those long exposures. Wide-angle lenses (14-35mm) are perfect for capturing expansive night skies, while a telephoto lens will help you photograph nocturnal wildlife from a safe distance.
- Pack extra batteries and memory cards, as cold temperatures drain power quickly.
- Use manual focus and infinity focus settings for sharp star images.
- Shoot in RAW format with low ISO settings to minimize noise.
Don't forget to bring lens cleaning supplies and protective filters, as they're vital in Yellowstone's dusty environment.
A portable star tracker can greatly enhance your astrophotography results, especially for longer exposures of celestial objects.
Timing Your Shots
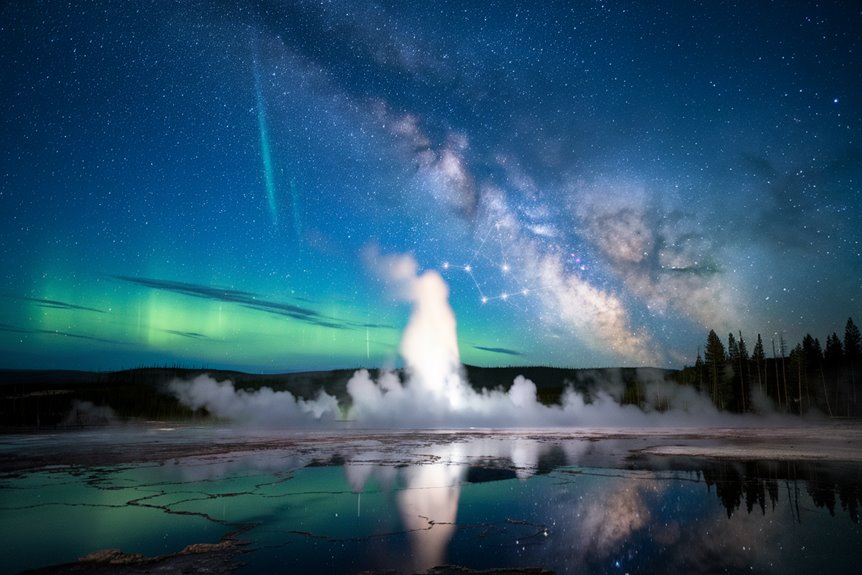
According to the stars and seasons, capturing stunning night sky photos in Yellowstone requires precise timing throughout the year.
You'll find the best opportunities to photograph the Milky Way's core from late June through mid-September, though you can spot it from April to October.
For geyser shots, you'll want to track eruption schedules carefully.
Old Faithful erupts every 70 minutes, making it predictable but challenging due to nearby light pollution.
White Dome Geyser provides frequent eruptions that you can pair with Milky Way shots, while Beehive Geyser requires more planning with its 12-20 hour intervals.
Use the park's Geyser App or Twitter feed to time your shoots perfectly.
Remember that cold temperatures can increase steam, potentially affecting your shots, so you'll need to factor weather conditions into your timing decisions.
Safety Guidelines After Dark
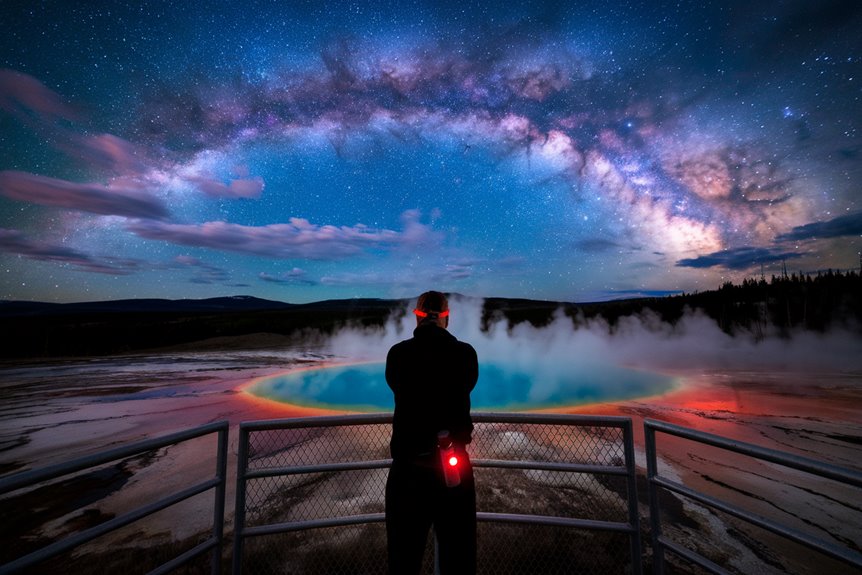
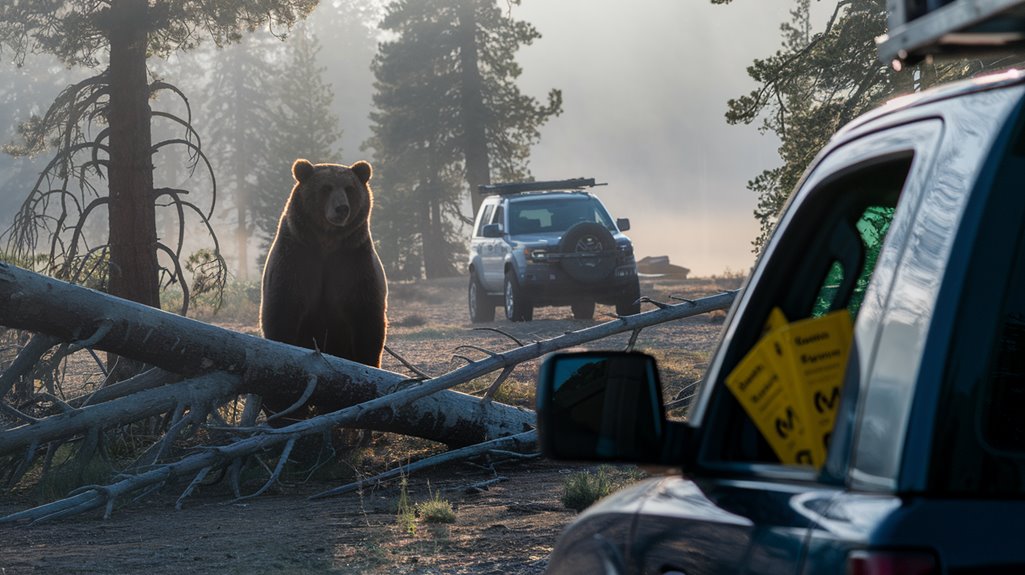
When venturing into Yellowstone after dark, safety must be your top priority. You'll need to travel in groups and carry essential safety equipment, including bear spray, a first aid kit, and a satellite communication device.
Make certain you're wearing layered clothing to handle temperature changes and keep a red-mode headlamp ready to minimize wildlife disruption.
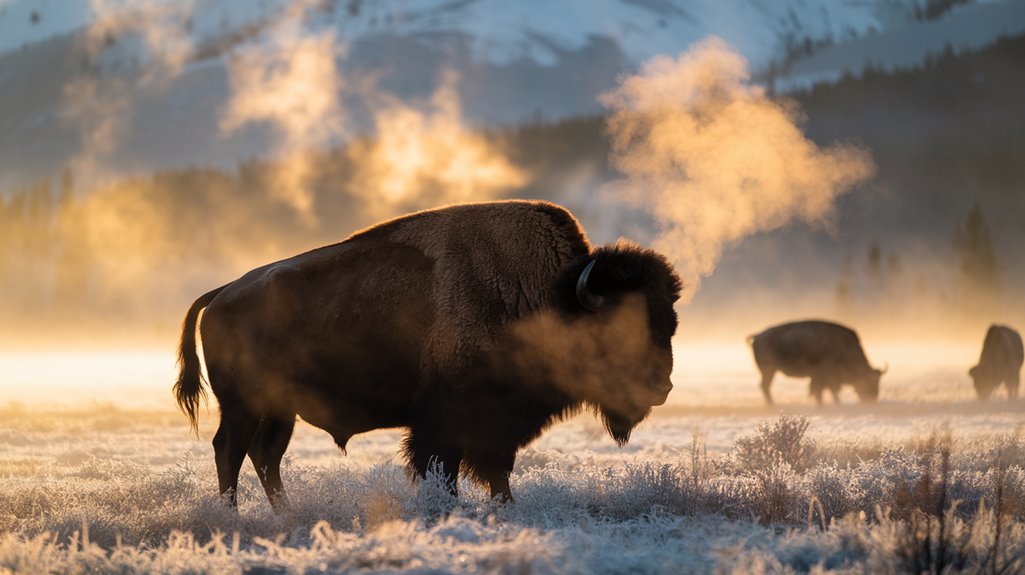
- Never approach wildlife – maintain 100 yards from bears and wolves, and 25 yards from other animals
- Stay on designated trails and boardwalks, especially around thermal areas which are particularly dangerous at night
- Keep your gear contained and organized to prevent accidents or environmental impact
Remember that wildlife roams freely throughout the park, so remain aware of your surroundings at all times.
Use proper parking areas and follow all park regulations to guarantee both your safety and the protection of Yellowstone's natural environment.
Advanced Shooting Techniques
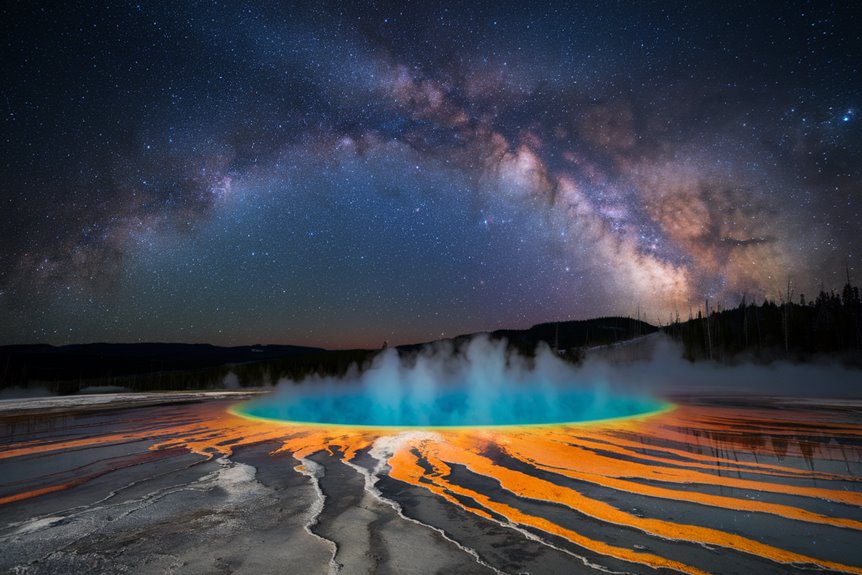
Mastery of advanced shooting techniques transforms ordinary night sky photographs into extraordinary celestial captures at Yellowstone.
You'll need to master external lighting by using flashes or LED lights strategically to illuminate foregrounds while maintaining the natural beauty of the night sky. Consider using light painting with tools like the Luxli Viola to highlight specific features in thermal pools or geysers.
When composing your shots, align the Milky Way with significant landscape elements, and utilize panoramic techniques for wider scenes, ensuring you overlap frames by at least a third.
You'll want to use PhotoPills to plan your shots and calculate ideal exposure times. Choose fast, wide-angle lenses, typically around 24mm, and maintain manual focus control.
Remember to position your artificial light sources carefully to avoid unwanted reflections in water features.
Frequently Asked Questions
Can I Photograph Night Skies Near Lodges Without Affecting Other Guests' Experience?
You can photograph near lodges by staying quiet, avoiding light painting toward buildings, choosing less crowded times, and using minimal equipment. Always respect quiet hours and keep your distance from other guests' spaces.
How Do Steam Clouds From Geysers Impact Star Visibility in Photos?
Ever chase the perfect star shot? Steam clouds can scatter light and block your view, creating hazy patches in your night sky photos. They'll obscure stars and potentially cover celestial objects you're trying to capture.
Are There Photography Permits Required for Commercial Night Sky Shoots?
Yes, you'll need a commercial photography permit if you're generating revenue from your nighttime shots. Submit your application to the special park use office and expect to pay both application and location fees.
Which Smartphone Apps Help Track Geyser Eruption Times for Night Planning?
Like a trusty guide in your pocket, you'll find both the NPS Yellowstone Geysers app and GeyserTimes app helpful. They'll track eruption predictions, send alerts, and let you monitor live webcam feeds.
Do Thermal Features Create Atmospheric Distortion That Affects Star Photography?
Yes, you'll notice thermal features create significant atmospheric distortion that can blur your star photos. Heat from geothermal areas causes air mixing and temperature gradients, which bend and distort starlight as it travels downward.
